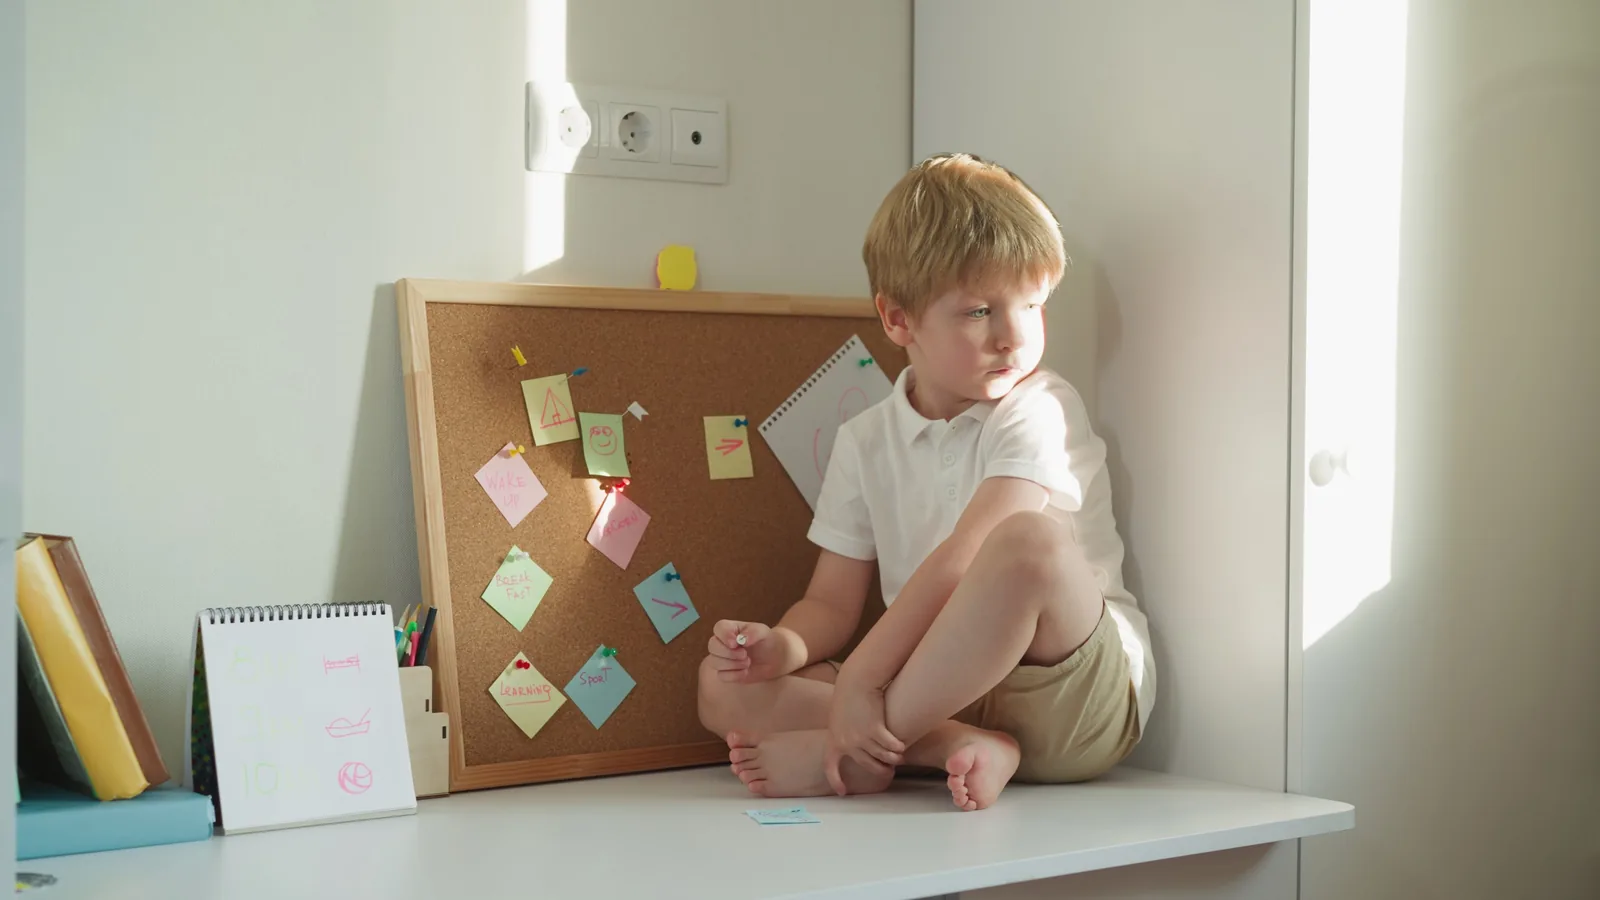
How To Create A Quiet Zone In A Shared Room
A practical step-by-step guide to how to create a quiet zone in a shared room, including preparation, instructions, common issues, tips, and next steps.
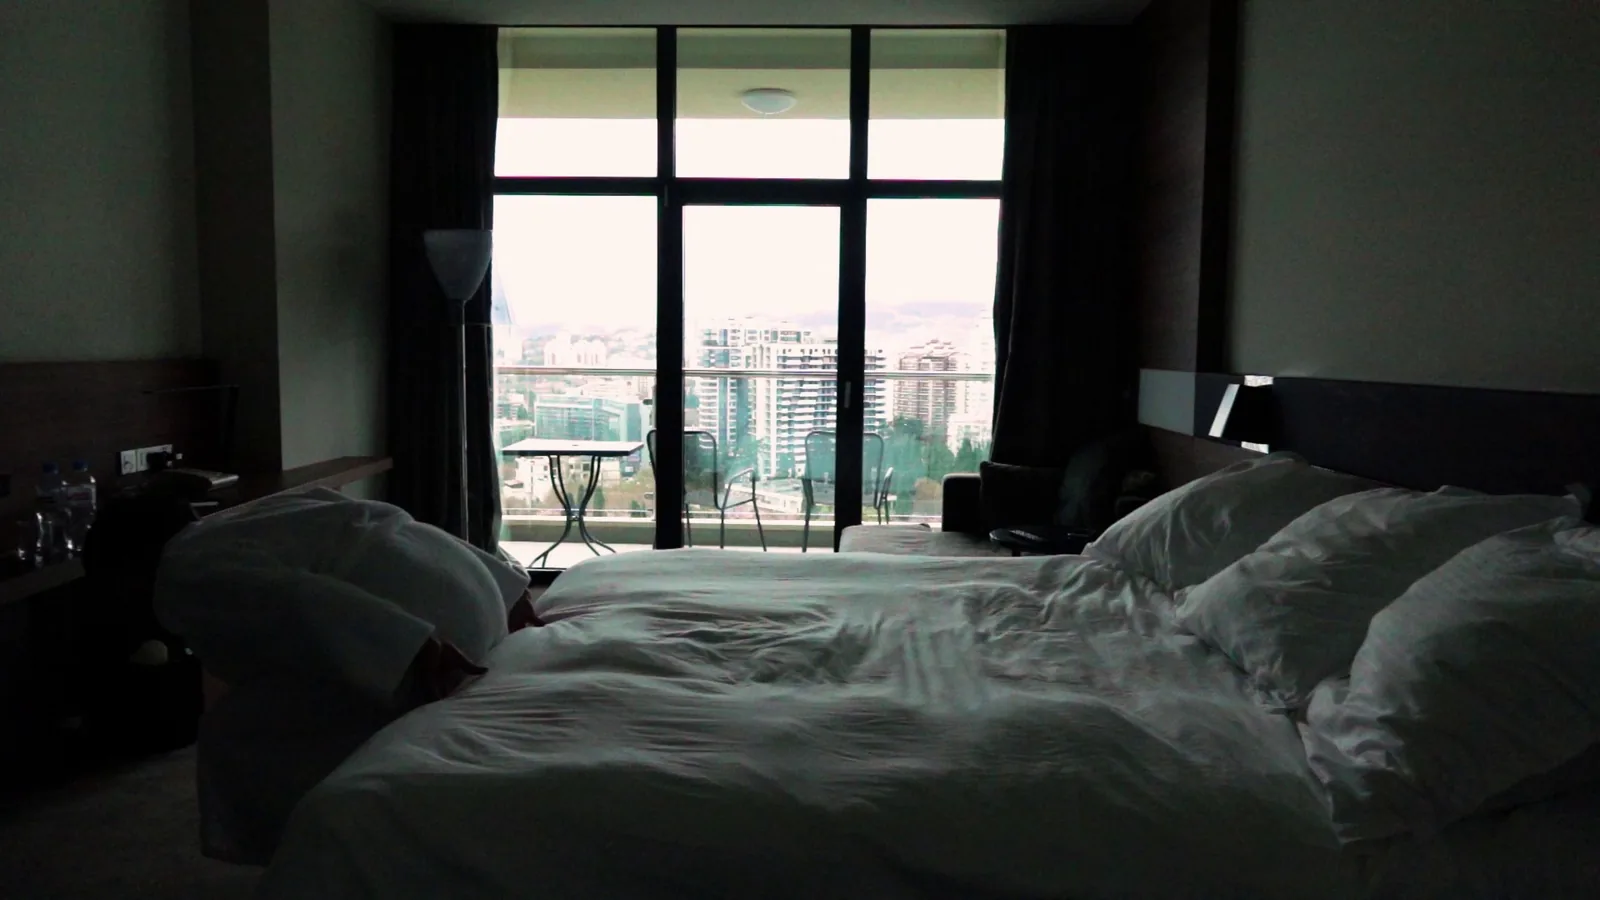
How To Create A Quiet Zone In A Shared Room
Creating a quiet zone in a shared room involves a combination of physical barriers, sound-absorbing materials, clear communication with roommates, and personal habits. This guide walks you through assessing the space, preparing materials, building a sound-dampening setup, establishing ground rules, and maintaining the area. It also covers quick fixes for common issues and advanced tips for enhancing tranquility. By following these steps, you can carve out a peaceful corner even in a bustling shared environment.
Fast Answer
- To create a quiet zone, start by identifying a corner or alcove away from high-traffic areas, then use bookshelves, curtains, or room dividers to block sound. Add soft furnishings like rugs, cushions, and heavy drapes to absorb echoes and reduce noise.
- Communicate with your roommates to establish agreed quiet hours and boundaries. Use headphones for personal audio, and consider a white noise machine or fan to mask disruptive sounds. Regularly maintain the space to keep it functional and inviting.
Before You Start
- Choose a specific spot: look for a corner, an alcove, or an area next to a solid wall that is far from the door, television, or kitchen. Ensure it has enough floor space for a chair or mat and a small table or shelf.
- Gather sound-absorbing materials: thick curtains, a rug, blankets, cushions, a bookshelf, or a folding screen. Also collect hooks, tension rods, or Command strips (if you're allowed to use them) to hang items without permanent damage.
- Plan a communication approach: decide how you'll discuss the quiet zone with roommates, such as proposing specific hours or a general agreement during certain activities. Prepare a simple, non-confrontational script or message.
- Set a budget and timeline: determine how much you can spend (even zero dollars by using items you already own) and how long you'll take to set up, perhaps an afternoon or a weekend, so you can measure progress.
Step-by-Step Instructions
Clear and Declutter the Chosen Area
Begin by removing any items from the designated spot that don't belong, such as bags, laundry, or shared clutter. Sweep or vacuum the floor, and wipe down any surfaces like shelves or windowsills. This creates a clean canvas and signals to others that the space is intentionally set aside. Check that the area is now tidy and ready for the next step. A clean zone reduces visual distractions, which helps you focus and relax, and it also makes the space more appealing for others to respect. If the area is cluttered, it can invite more mess and undermine the purpose of your quiet zone. Take a few minutes to organize any remaining items into designated storage, ensuring everything has a place. This initial effort sets a positive tone for the entire project and makes it easier to maintain the zone in the long run. A tidy area also improves acoustics by reducing hard, reflective surfaces that bounce sound around.
Install Sound-Absorbing Furnishings
Place a thick rug or carpet on the floor to dampen footstep noise and echoes. Hang heavy curtains or blankets over windows and any exposed walls using tension rods, hooks, or a sturdy frame. Add cushions, bean bags, or a floor cushion to create a soft seating area. Position a bookshelf against the wall opposite the main noise source, filling it with books to add mass and absorb sound. Ensure that all items are securely installed and won't fall. After installing, sit in the zone and listen for a noticeable reduction in echo and external noise. If you still hear too much, add another layer, such as a felt mat or a second curtain. This works because soft materials trap sound waves and reduce their reflection, making the area feel calmer and more intimate. Check that the furnishings don't block exits or create a fire hazard.
Create a Visual Screen or Barrier
Use a room divider, a folding screen, or a tall bookshelf to visually separate your quiet zone from the rest of the room. If you don't have a store-bought divider, you can hang a shower curtain rod with a heavy curtain or drape a large piece of fabric from the ceiling using removable hooks. Make sure the barrier is stable and tall enough to block the line of sight from the door or main seating area. After setting it up, step into the zone and confirm that you feel visually enclosed and that the barrier doesn't block essential light or airflow. A visual barrier is crucial because it signals to your brain that this is a different space for focus or relaxation, and it also reduces distractions from seeing others' movements. Check that the barrier is easy to move if you need to reconfigure the room, and that it doesn't allow sound to pass easily through gaps—use fabric or fill bookshelves to seal openings.
Establish Quiet Hours with Roommates
Initiate a friendly conversation with your roommates to propose specific times when you'd like the space to be quiet, such as early mornings or late evenings. Listen to their preferences and suggest a compromise, like having a 'quiet hours' period during the day or a signal (e.g., a small light or sign) to indicate when you're using the zone. Agree on ground rules, such as no loud music near the zone, and write them down if needed. After the chat, confirm that everyone is on board and post a subtle reminder in a common area. This step is vital because clear communication prevents resentment and encourages cooperation. Check that the agreed hours are realistic and that you've offered a reciprocal arrangement, like you'll also respect their quiet times. Without this, your zone might be frequently disrupted despite your physical setup.
Implement Personal Noise Management
Equip yourself with noise-reducing headphones or earplugs if you're sensitive to sound. Use a white noise machine, a fan, or a smartphone app that plays ambient sounds to mask intermittent noises. If you listen to music or podcasts, use headphones instead of speakers. Also, consider using noise-canceling earbuds for immersive focus. After using these for a few minutes, evaluate if they reduce distractions enough. This approach is important because it gives you control over your auditory environment regardless of what others do. Check that your chosen method is comfortable for extended wear and doesn't cause ear fatigue. Remember that you can combine several techniques, like wearing earplugs and playing white noise, for maximum effect. By taking personal responsibility, you show that you're not solely relying on others' behavior.
Maintain and Adapt the Quiet Zone
Regularly tidy the area, fluff cushions, and adjust the setup as seasons change or new noise sources appear. Once a week, test the effectiveness by sitting quietly for a few minutes and noting any intrusive sounds. If you notice new issues, like a squeaky desk or a draft under the door, fix them promptly. Also, periodically check with roommates to ensure the quiet hours still work for everyone. This step is crucial because a quiet zone is not a set-and-forget project; continual maintenance ensures it remains effective and respected. Check that all materials are still in good condition and replace any worn items. If your living situation changes, such as a new roommate, reintroduce the concept and adjust the boundaries. By staying proactive, you prevent minor annoyances from becoming major disruptions.
Quick Reference
| Situation | Action | Why it helps |
|---|---|---|
| Roommate is watching a loud action movie during your study time | Politely remind them of the agreed quiet hours and suggest they use headphones or move to another area until the movie ends. | Reinforces the agreement without confrontation and offers a practical solution that respects both needs. |
| Traffic noise from outside filters in even with closed windows | Hang heavy thermal curtains and place a draft stopper under the door, then turn on a white noise machine to mask low-frequency hums. | Adds mass to absorb sound and introduces continuous, soothing sound to cover unpredictable external noises. |
| Echo makes your voice sound hollow during online calls in the zone | Lay down a thick rug and add cushions or a bookshelf to break up flat surfaces, then test the call with a friend. | These materials dampen reflections, improving audio clarity by reducing reverb and making your voice sound more natural. |
Common Issues
- Fabric curtains rattle when the window is open or when air flows through the room: Attach curtain weights to the bottom hems or use magnetic clips to keep them in place. Alternatively, install a tension rod with silicone bumper pads at each end to hold the fabric securely.
- The bookshelf used as a barrier can topple over if bumped: Secure the shelf to the wall with brackets or straps designed for earthquake safety. Place heavier books on the bottom shelves to lower the center of gravity and ensure the shelf is stable before use.
- Roommates forget the agreed quiet hours and talk loudly near the zone: Post a small laminated sign at the entrance to the zone, and set a recurring reminder in your group chat. If issues persist,,have a brief renegotiation meeting to revisit the rules and discuss any challenges.
Advanced Tips
- Place a thick wool blanket under your chair or mat to absorb sound from below, which also adds a layer of warmth and comfort.
- Install a door sweep on the bottom of the door to block sound leakage and drafts, which also improves the overall insulation of the room.
- Use a portable acoustic panel, like a foam board wrapped in fabric, that you can move around or mount on the wall behind your head to target specific reflections.
Final Checklist
- Select a location that is at least three feet away from the main doorway and away from shared appliances like TVs or speakers.
- Have at least two sound-absorbing materials in place: a rug, curtains, a bookshelf, or a fabric screen.
- Communicate with all roommates and reach a clear verbal or written agreement on quiet hours and boundaries.
- Test the zone by sitting quietly for 5 minutes and noting any intrusive sounds; make adjustments to improve sound absorption or block gaps.
FAQ
How can I make my quiet zone effective without buying anything?
You can use items you already own: stack pillows against a wall, drape a heavy blanket over existing curtains, place a thick comforter on the floor, and fill a cardboard box with crumpled paper as a DIY acoustic panel. Even just moving your desk into a corner and adding a rug can reduce echo and noise significantly.
What if my roommate refuses to cooperate with quiet hours?
Start by having a calm conversation to understand their perspective. Offer a trade-off, like you'll quiet down during their preferred times, or suggest using a white noise machine to mask the noise. If that fails, consider involving a neutral third party, such as a resident advisor if you live in student housing, or seek compromise on specific times rather than all-day quiet.
How do I know if my quiet zone is actually reducing noise?
Before making changes, record a few minutes of ambient noise using your phone. After setting up your zone, play the same recording and notice if the volume seems lower or less distracting. You can also use a free sound meter app to measure decibel levels in different spots, but consistently noticing that you can focus better is the most practical test.