How To Improve Posture With An Ergonomic Chair
A practical step-by-step guide to How to improve posture with an ergonomic chair, including preparation, instructions, common issues, tips, and next steps.
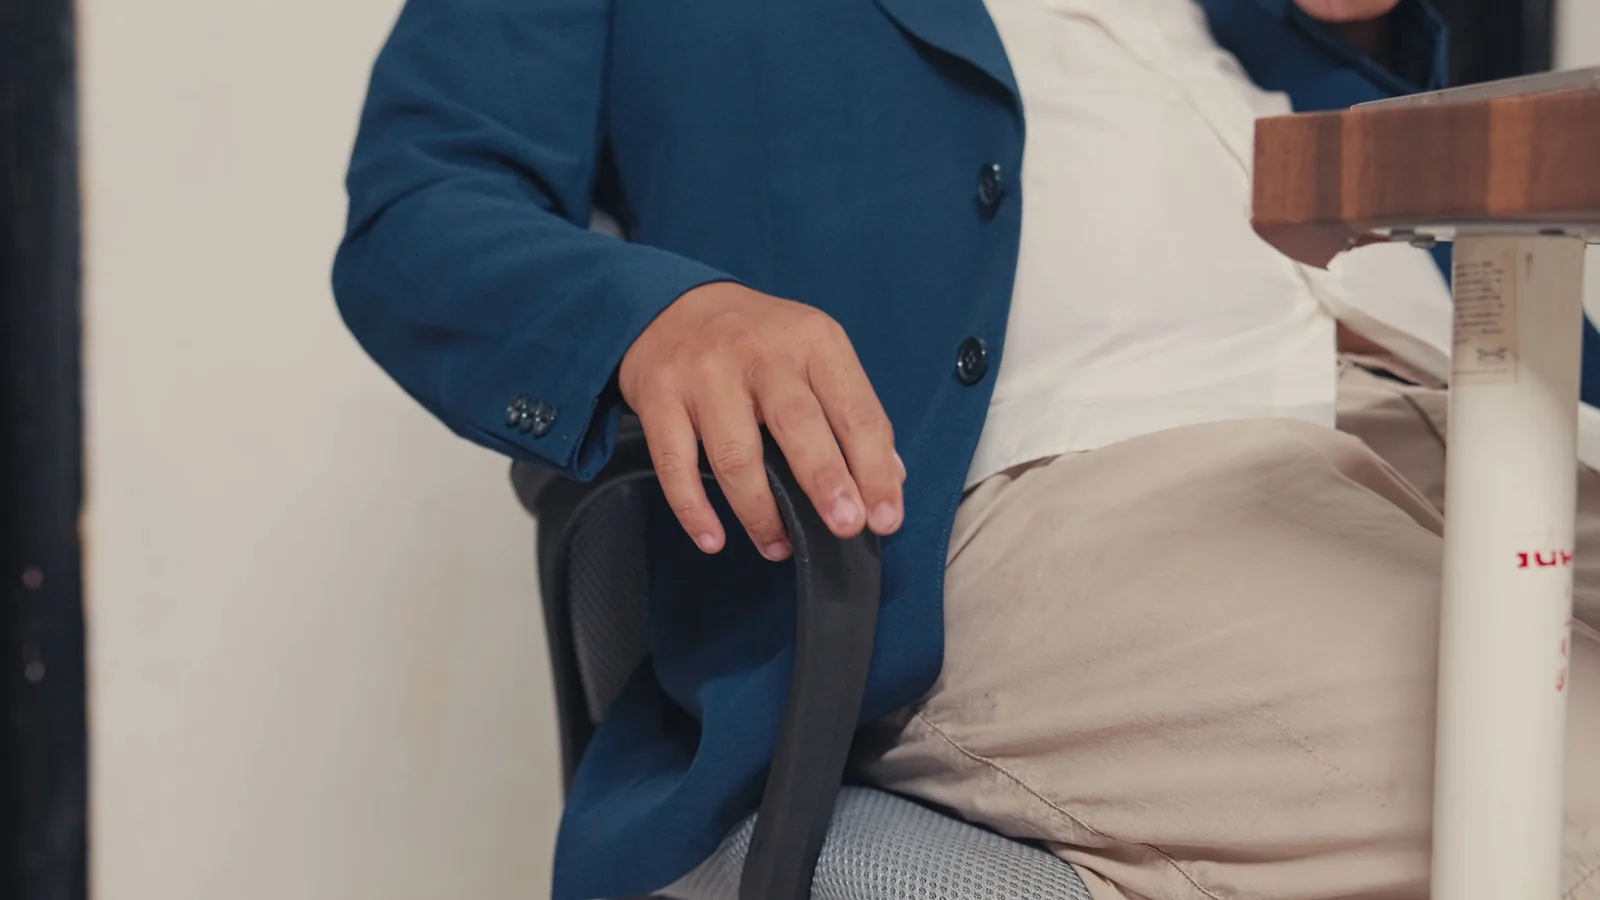
How To Improve Posture With An Ergonomic Chair
An ergonomic chair only helps when it is adjusted to your body and used with steady movement habits. This guide walks you through measuring your setup, tuning each chair control in a sensible order, checking your work with simple tests, and building daily routines that keep your posture comfortable over long hours.
Fast Answer
- Set the seat height so your feet rest flat and your knees bend near a right angle, then adjust the backrest, armrests, and monitor so your head stays balanced over your shoulders.
- Recheck your setup every few weeks and stand up briefly at least once each hour, because posture drifts as your chair, desk, and tasks change.
Before You Start
- Clear the floor under and around your desk so your feet and chair wheels can move freely without cables or boxes blocking your sitting position.
- Loosen every adjustment lever, knob, and lock on the chair so the seat, backrest, armrests, and tilt can move while you fine-tune the fit.
- Note your main tasks and how long you sit each day, since typing, drawing, and phone work each need slightly different support.
- Put a mirror or phone camera to the side of your desk at seat height so you can see your profile while checking your posture.
Step-by-Step Instructions
Measure your body and desk fit
Sit on the chair with your back against the backrest and your feet flat on the floor. Check that there is a small gap behind your knees, roughly the width of a few fingers, so the seat edge does not press into your legs. Your knees should bend near a right angle, with thighs roughly level or sloping slightly down toward the knees. If your feet dangle, lower the seat or add a stable footrest; if your knees rise above your hips, raise the seat. Now measure the distance from the top of your seated thighs to the underside of your desk. You want enough clearance to cross your legs slightly without scraping. Write these numbers down so you can repeat the fit later. This first check matters because every other adjustment depends on a stable base: if the seat height or depth is wrong, your back, shoulders, and neck will fight the chair all day.
Set the seat height and depth
Adjust the seat height first, using the lever or knob that raises and lowers the whole seat. Aim for feet flat on the floor, knees near a right angle, and hips level with or slightly higher than the knees. If the chair will not go low enough, keep the seat where it is and use a footrest that tilts slightly forward, because a stable footrest is better than a too-high seat. Next set the seat depth: slide the seat pan forward or back until you can sit with your back against the backrest and still keep that small gap behind your knees. Tighten the depth lock so the seat does not creep during the day. Sit for a minute and notice whether your weight rests evenly on both sitting bones. This step comes before backrest work because the backrest cannot support you properly if the seat pushes you forward or leaves you perched on the edge.
Tune the backrest and lumbar support
Set the backrest height so its curve or pad rests in the small of your back, roughly at your waistline or just above it, not at your shoulder blades. Adjust the backrest angle so you can sit upright with your shoulders relaxed, then recline a few degrees for comfort. If the chair has a lumbar depth control, turn it until you feel gentle support without being pushed forward. Lean back and check that the backrest follows you and keeps contact with your lower back. Sit for two or three minutes and breathe normally; if you feel pressure points, move the pad up or down a little and test again. Lock the tilt if the chair has a lock, or set a small amount of free tilt if you prefer movement. This step follows seat setup because lumbar support only works when your hips are positioned correctly, and it prepares you for armrest and monitor alignment.
Position armrests and shoulders
Lower or raise the armrests until your forearms rest lightly with shoulders relaxed and elbows near a right angle. Your elbows should stay close to your sides, not winged out or pressed into the chair. Move the armrests inward or outward so they support your forearms without blocking you from pulling the chair close to the desk. If the armrests hit the desk edge, lower them or slide them back so they tuck under the surface. Rest your hands on the keyboard or work surface and check that your wrists stay straight, not bent up or down. Roll your shoulders once and let them drop. Then type or write for a minute and notice whether you are lifting your arms or leaning to one side. Armrest setup matters because unsupported arms pull the shoulders and neck forward, undoing the back support you just adjusted.
Align monitor, keyboard, and chair
Pull the chair close to the desk so your body is a hand-width from the edge and your forearms can rest on the surface. Place the monitor or main screen at about arm's length, with the top of the screen near or slightly below eye level. Tilt the screen back a few degrees so it faces you squarely. Center the screen in front of you, and if you use a second screen, angle it toward you rather than turning your whole body. Keep the keyboard and pointing device close enough that your elbows stay near your sides. Look at the screen without jutting your chin forward or slumping. Then look down at a document or phone and notice how far your head travels; bring those items closer or raise them. This step matters because even a perfectly adjusted chair fails if the screen or keyboard forces your head and arms into awkward positions.
Build movement breaks and recheck habits
Set a gentle reminder to stand up or change position briefly at least once each hour. During each break, roll your shoulders, look away from the screen, and take a few slow steps. Then sit back down and reset: feet flat, back against the backrest, shoulders relaxed, screen at eye level. Alternate between sitting upright and using a small recline so your back is not locked in one angle all day. At the end of the day, notice any sore spots and adjust one thing at a time, such as the seat depth or armrest height. Every few weeks, repeat the quick fit checks from the earlier steps, because chairs loosen, desks change, and your body changes too. Movement breaks and small rechecks protect the posture gains you made, since static sitting wears down even a well-adjusted setup over long hours.
Quick Reference
| Situation | Action | Why it helps |
|---|---|---|
| Your feet dangle or your knees rise above your hips after sitting down. | Adjust the seat height lever until your feet rest flat and your knees bend near a right angle, or add a stable footrest if the chair cannot go low enough. | A stable base lets your hips and lower back relax against the backrest, so the rest of your adjustments can actually support you instead of fighting a tilted pelvis. |
| You feel pressure in the small of your back or you keep sliding forward on the seat. | Move the backrest or lumbar pad to your waistline, set the seat depth so there is a small gap behind your knees, and lock both settings before sitting back. | Lumbar support only works when it meets your lower back at the right height; when it sits too low or too high, you slump or perch forward to find relief. |
| Your shoulders ache and your neck feels tired after an hour of screen work. | Lower the armrests so your forearms rest lightly, pull the chair close to the desk, and raise the screen so its top is near eye level. | Unsupported arms and a low screen pull the head and shoulders forward, which adds strain that no amount of backrest adjustment can remove. |
Common Issues
- The chair feels comfortable for a few minutes but painful after an hour.: Recheck the seat depth and backrest height while sitting in your normal working position, then change only one setting at a time and wait a day before judging it. Small mismatches often show up only after sustained sitting.
- The armrests bump the desk or keep you from sitting close.: Lower the armrests, slide them back, or remove them if the chair permits, and support your forearms on the desk surface instead. Sitting close to the desk reduces reach and keeps your back against the backrest.
- You keep sliding forward or slumping no matter how you adjust the chair.: Check that your feet reach the floor or a footrest and that the seat pan is not too deep, then set a small backward tilt and recheck your screen distance. A stable base and a closer screen make upright sitting much easier to hold.
Advanced Tips
- Alternate between two good sitting positions, one more upright for focused work and one slightly reclined for reading, so no single set of tissues stays compressed all day.
- Keep a small notebook or note file of your best settings for seat height, depth, armrest level, and screen distance so you can reset quickly after a move or a shared desk.
- Practice a one-minute posture reset when you stand: roll your shoulders, lift your chest, and let your arms hang before you sit back down, which helps you notice tension before it becomes soreness.
Final Checklist
- Feet rest flat on the floor or a stable footrest, with knees near a right angle and a small gap behind the knees.
- Lower back is supported at the waistline, shoulders are relaxed, and your body sits a hand-width from the desk edge.
- Screen top is near eye level at about arm's length, and the keyboard and pointing device sit close enough that elbows stay near your sides.
- You stand or change position briefly at least once each hour, and you recheck the chair fit every few weeks or after any change to your desk.
FAQ
How long should I sit in a new position before judging it?
Give each change a full working day or two before deciding whether it helps, because your body needs time to relax into a new pattern. Change one setting at a time, such as seat depth or armrest height, so you can tell what made the difference. If discomfort grows instead of easing, return to the previous setting and try a smaller adjustment.
Can an ergonomic chair fix posture on its own?
No chair can hold you upright by itself. A well-adjusted chair removes the main barriers to good posture, such as a tilted pelvis or unsupported arms, but you still need to arrange your screen and keyboard sensibly and change position during the day. Think of the chair as one part of a setup that includes your desk, your habits, and regular movement breaks.
What should I do if the chair cannot adjust enough for my body?
Use simple additions first: a stable footrest if your feet dangle, a thin cushion behind your lower back if the lumbar support is too soft, or a raised screen and separate keyboard if your neck bends forward. If the chair still cannot fit you after these changes, look for a chair with adjustable seat height, depth, backrest, and armrests, and test it with these same checks before you commit.